Plumbing camera inspections are an effective way to detect potential issues with your plumbing system. This process involves inserting a small camera into your pipes to identify any clogs, leaks, or other potential problems. Here is a step-by-step guide to the plumbing camera inspection process:
Step 1: Contact a Professional
The first step to having a plumbing camera inspection done is to contact a professional. You should research plumbers in your area and contact one who is qualified and experienced with this process. If you want to hire a professional sewer camera inspection service in Miami then, you can search online.
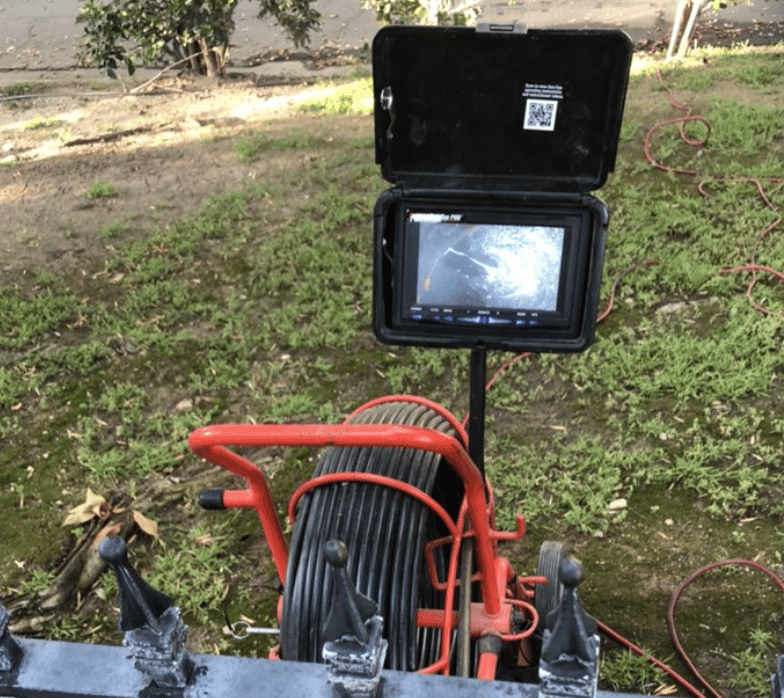
Image Source: Google
Step 2: Prepare Your Home
Once you have chosen a professional, the next step is to prepare your home. This includes shutting off the main water supply to your home, making sure any children or pets are out of the way, and clearing any furniture or items that may be blocking access to your pipes.
Step 3: Insert the Camera
The technician will then insert the camera into the pipes. This is done by connecting the camera to a long flexible tube and slowly feeding the tube into the pipes until the camera is in the desired location.
Step 4: Monitor the Feed
Once the camera is in place, the technician will monitor the video feed from the camera. This allows them to see any potential problems that may be present in the pipes.